
Buy Now. Pay With ![]() Learn More
Learn More
 https://jfautomotive.co.uk/wp-content/uploads/2019/10/IMG_8937-1500x1000.jpg
Bench Tuning with Alientechs KTAG – How it works
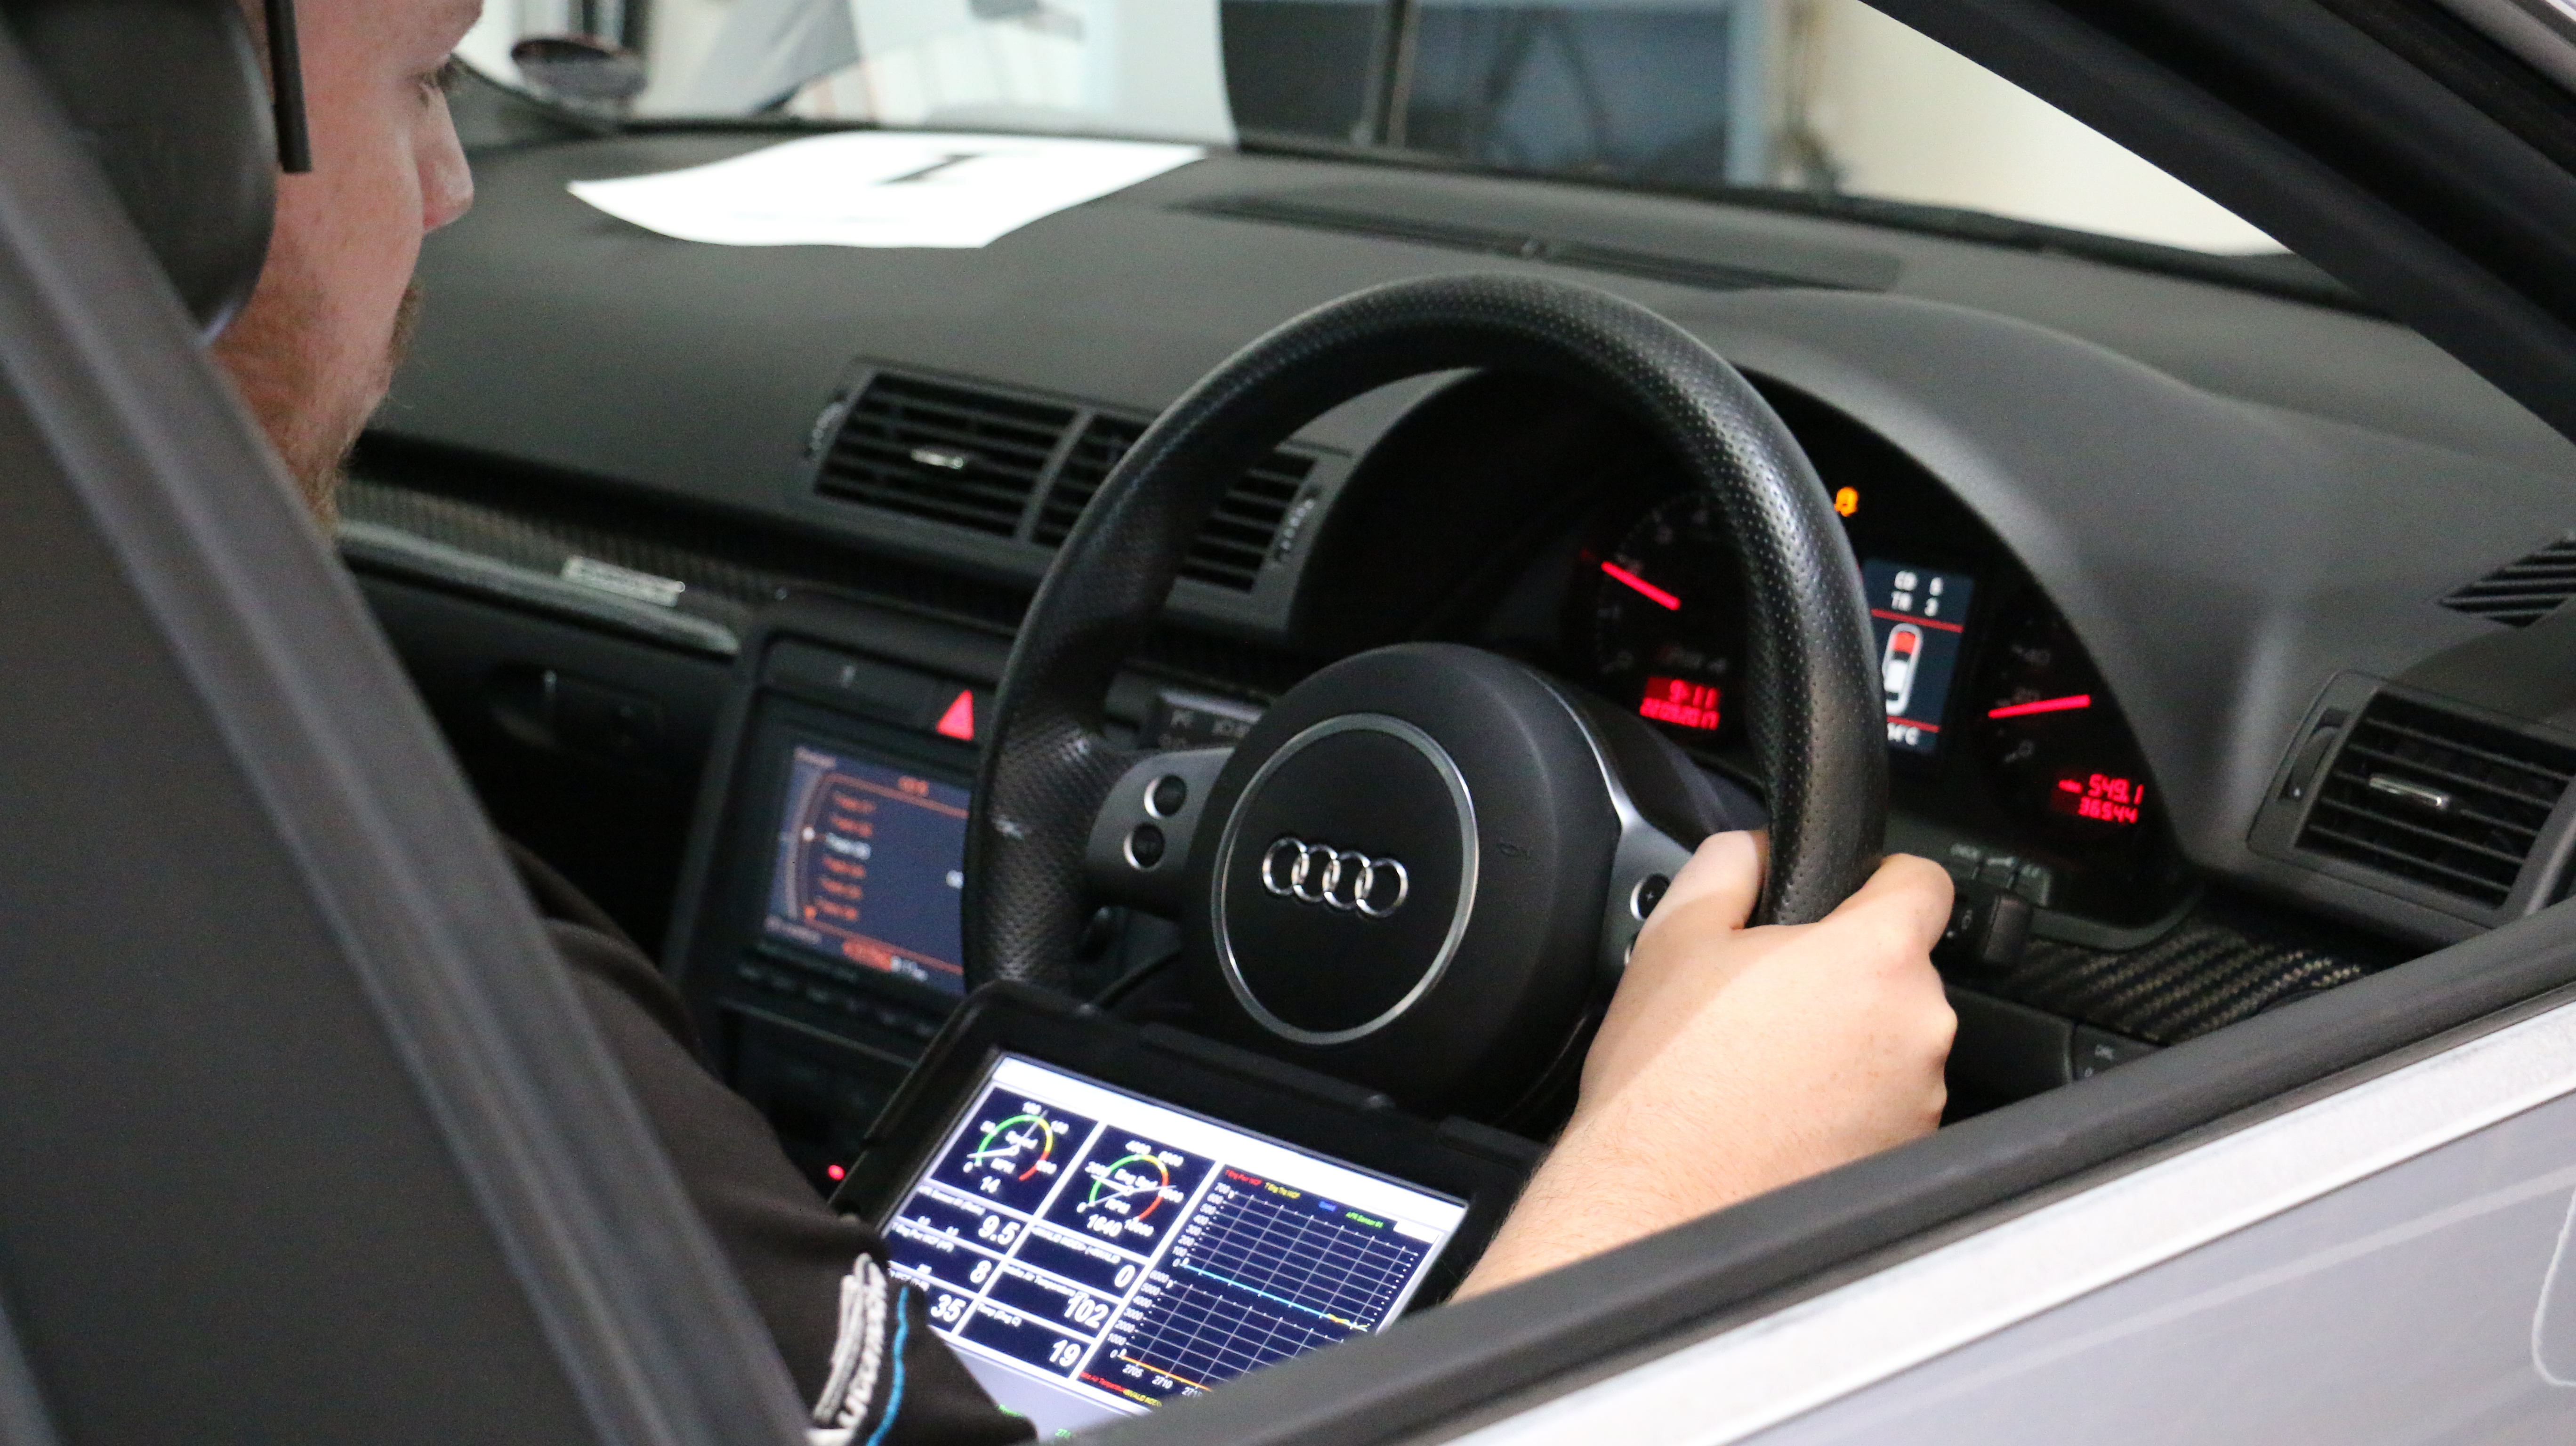
Ever wondered what goes on behind the scenes when we remove the ECU from your car to tune it?
When ECU remapping first started, the only way to tune was to physically remove and replace the memory chip containing the maps for the car. As technology moves onward, we’ve become able to re-program the ECU’s via less extreme methods on the bench. Today we’re looking at the process of bench tuning an ECU using Alientechs KTAG tool, covering what we do, and why. We’ve found this unit reliable, easy to use and quick – it’s very rare to use anything else when benching an ECU.
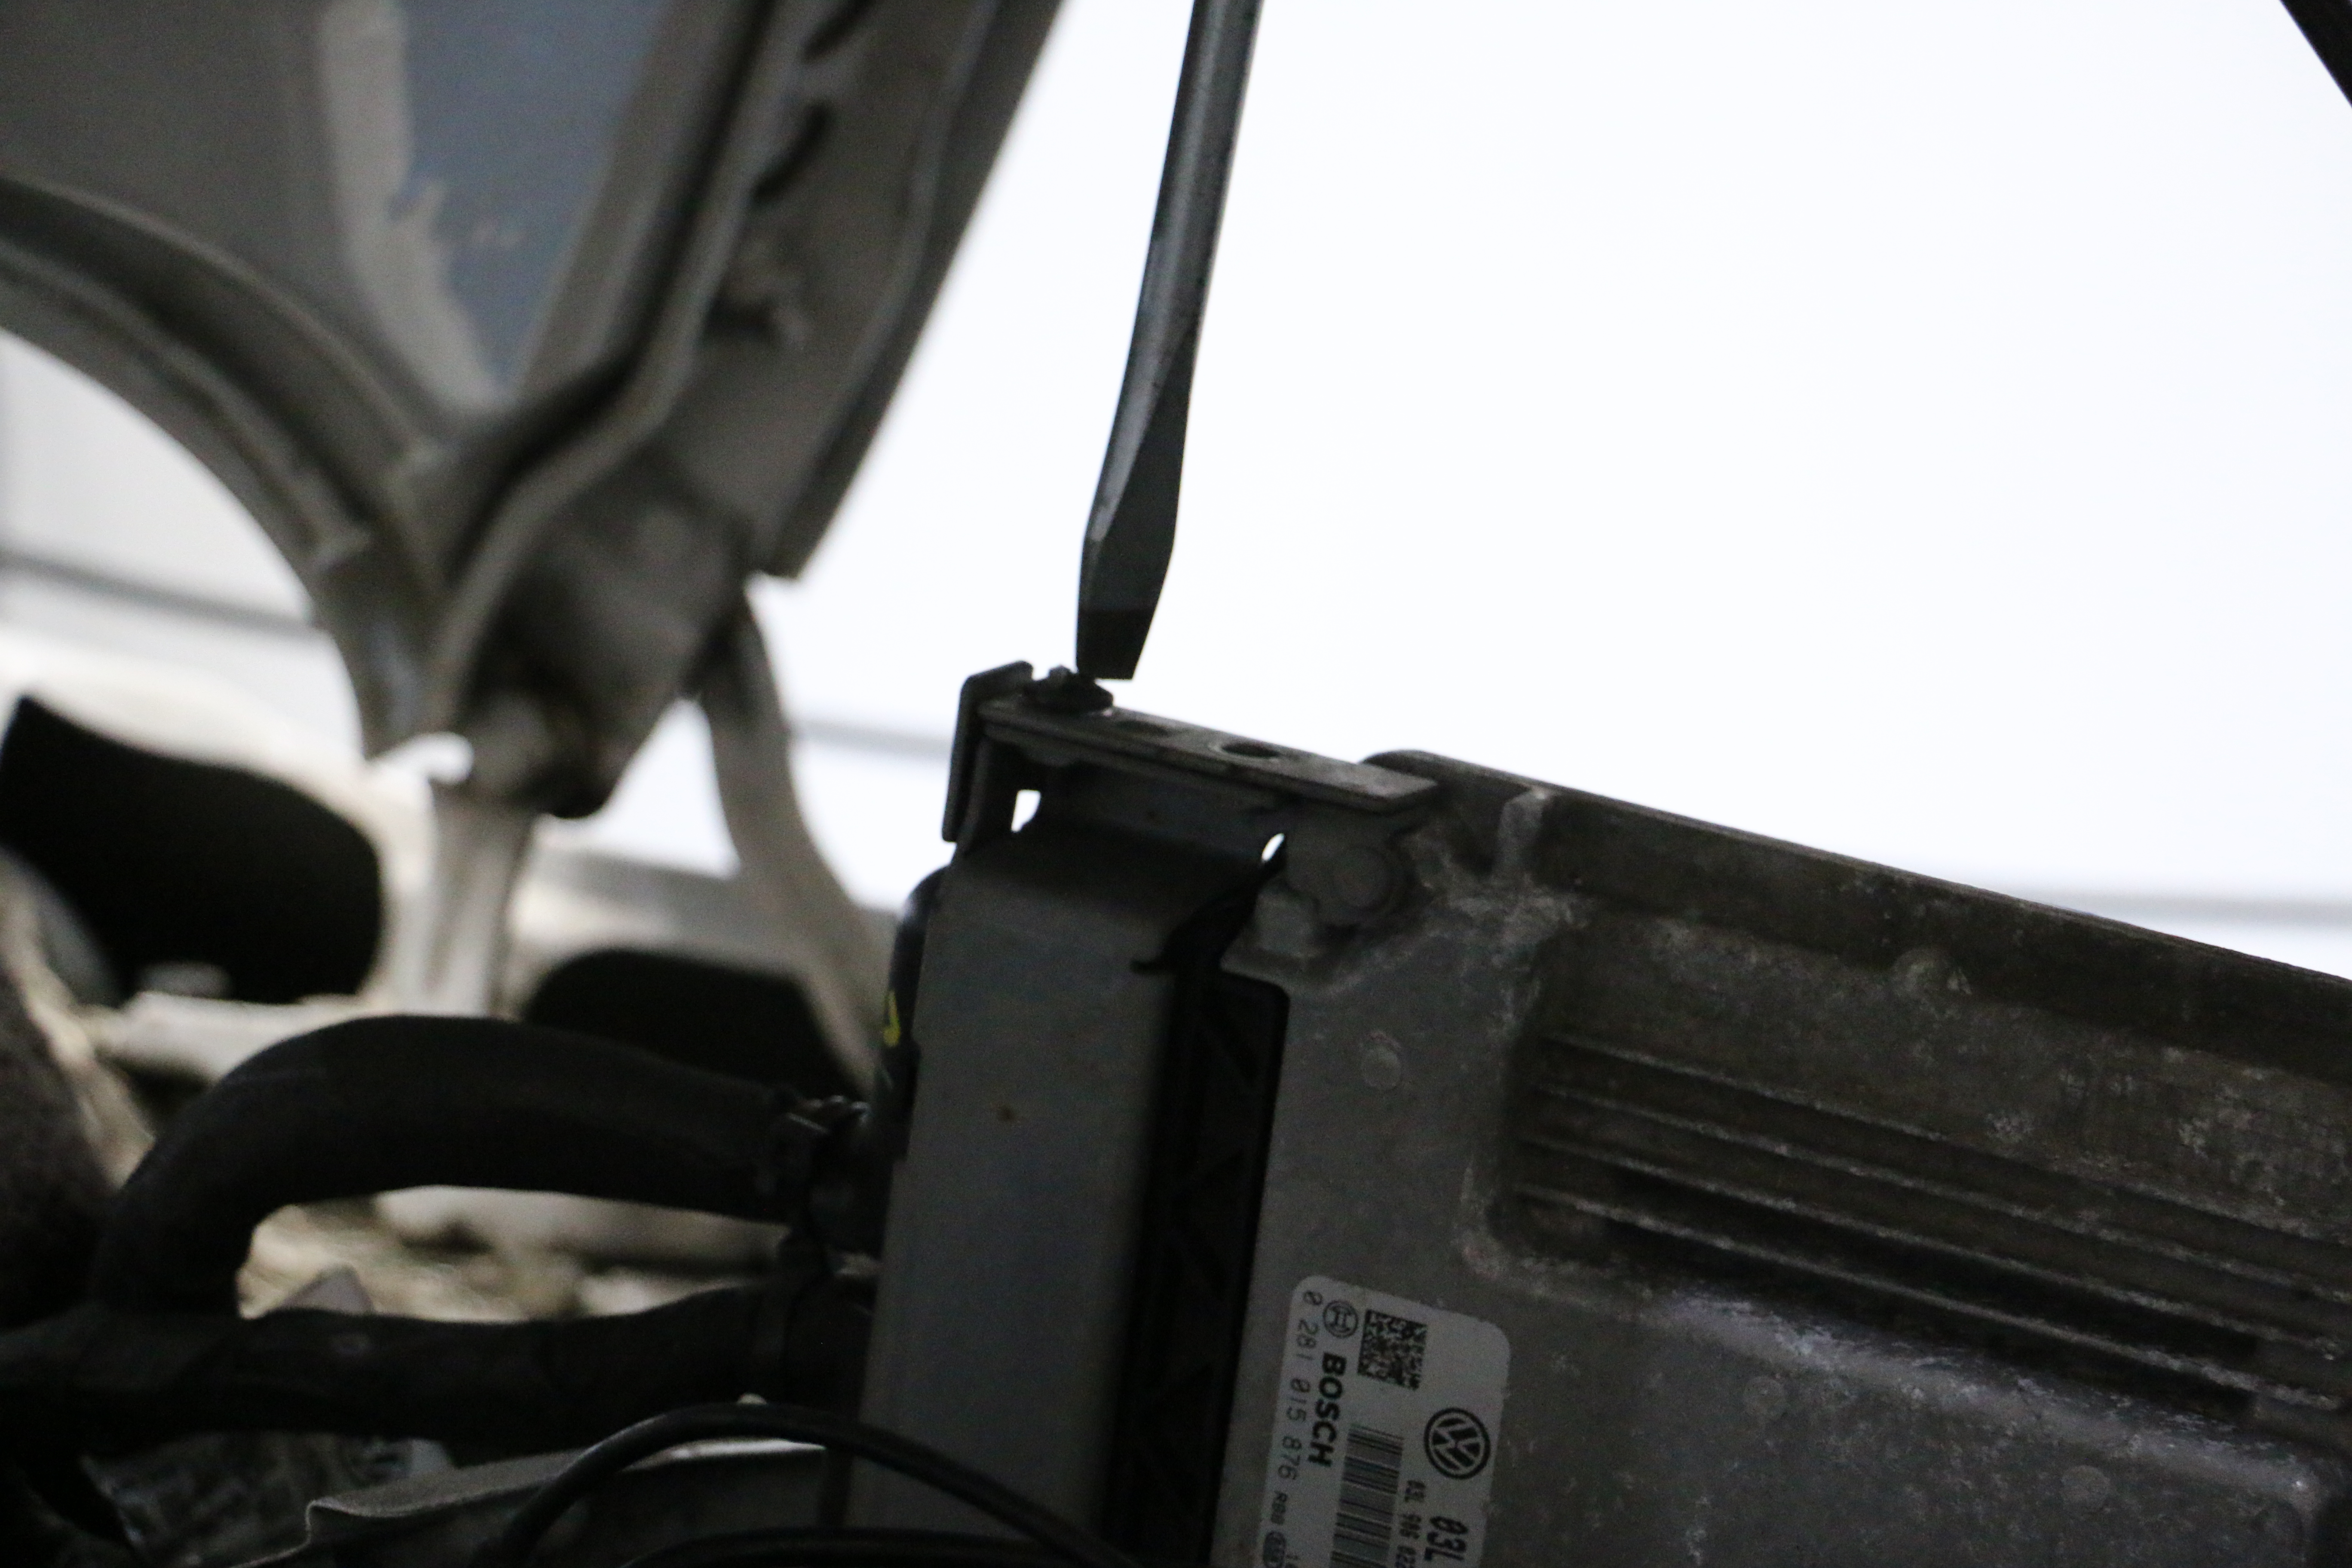
Firstly, we’ve got to remove the ECU from the car, this varies in how difficult it is to get at. Some Mercedes ECU’s are fitted on quick release clamps and take less than a minute to remove, other vehicles require a little disassembly to get at the ECU or ECU’s, as some cars have two!
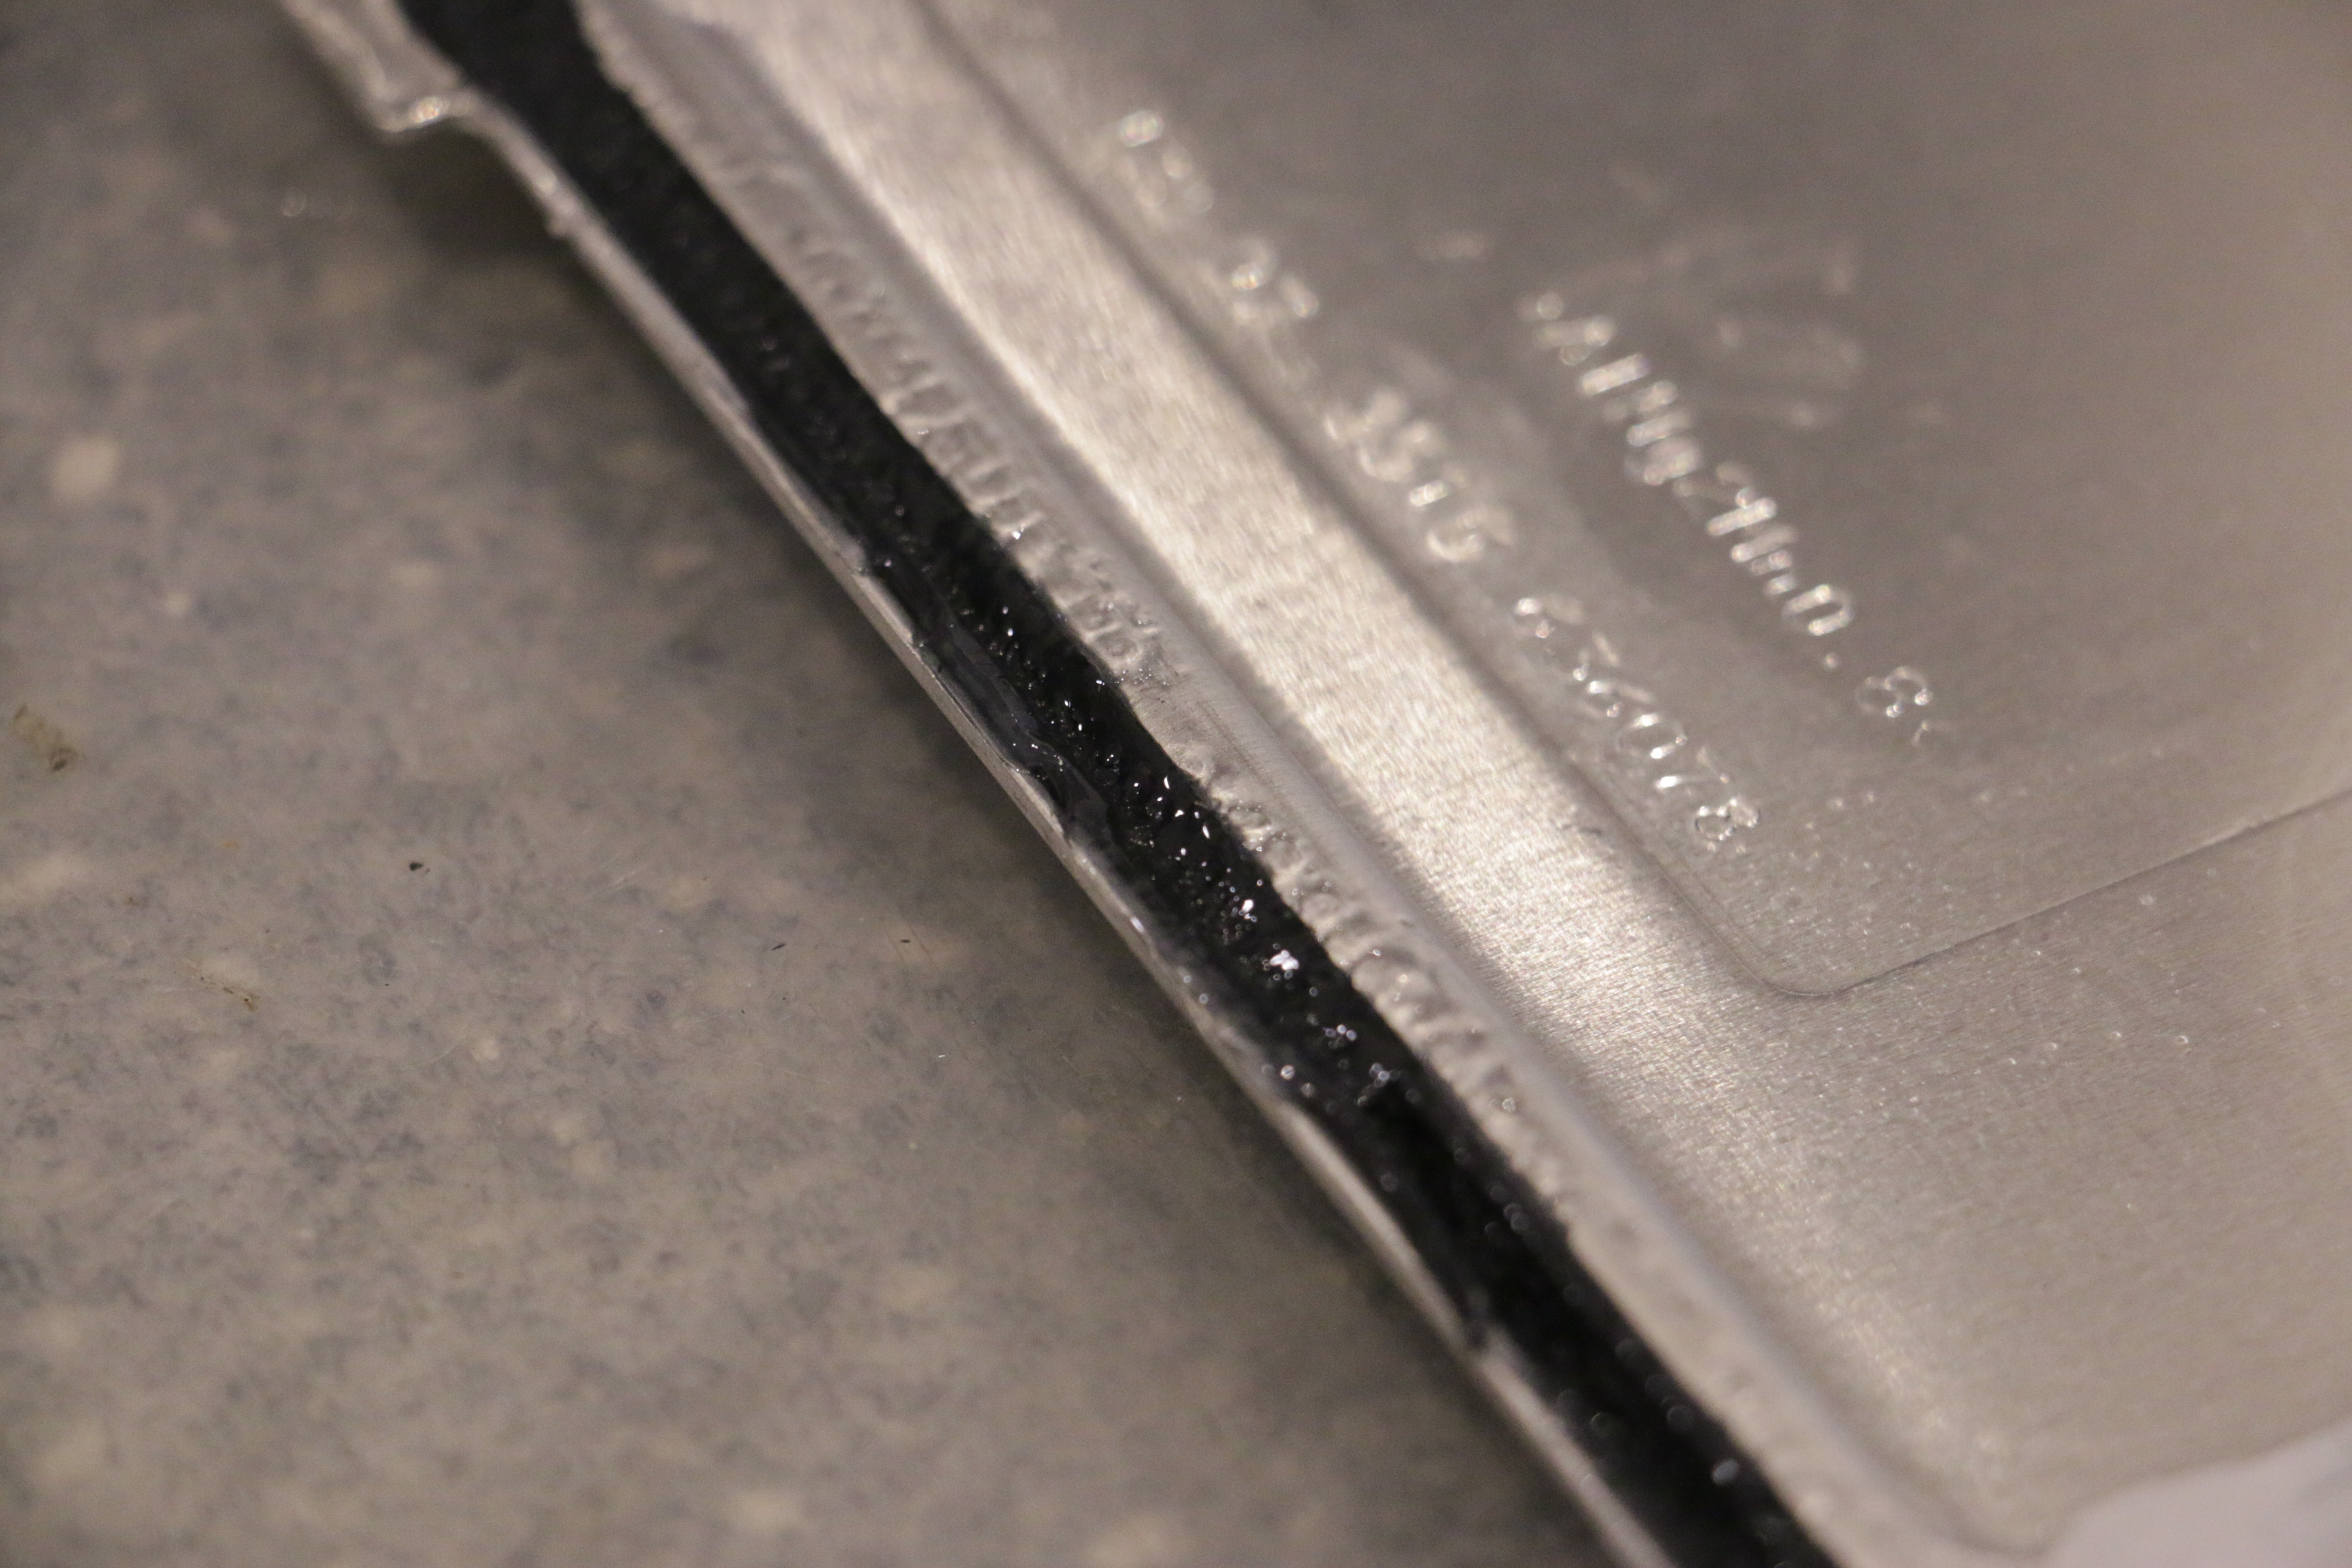
With the ECU removed from the car, we’ve then got to get access to the board. This can be done in two ways, the most common way is by taking the cover off. We unscrew the bolts, then use brake cleaner to dissolve the glue/sealant holding the cover on.
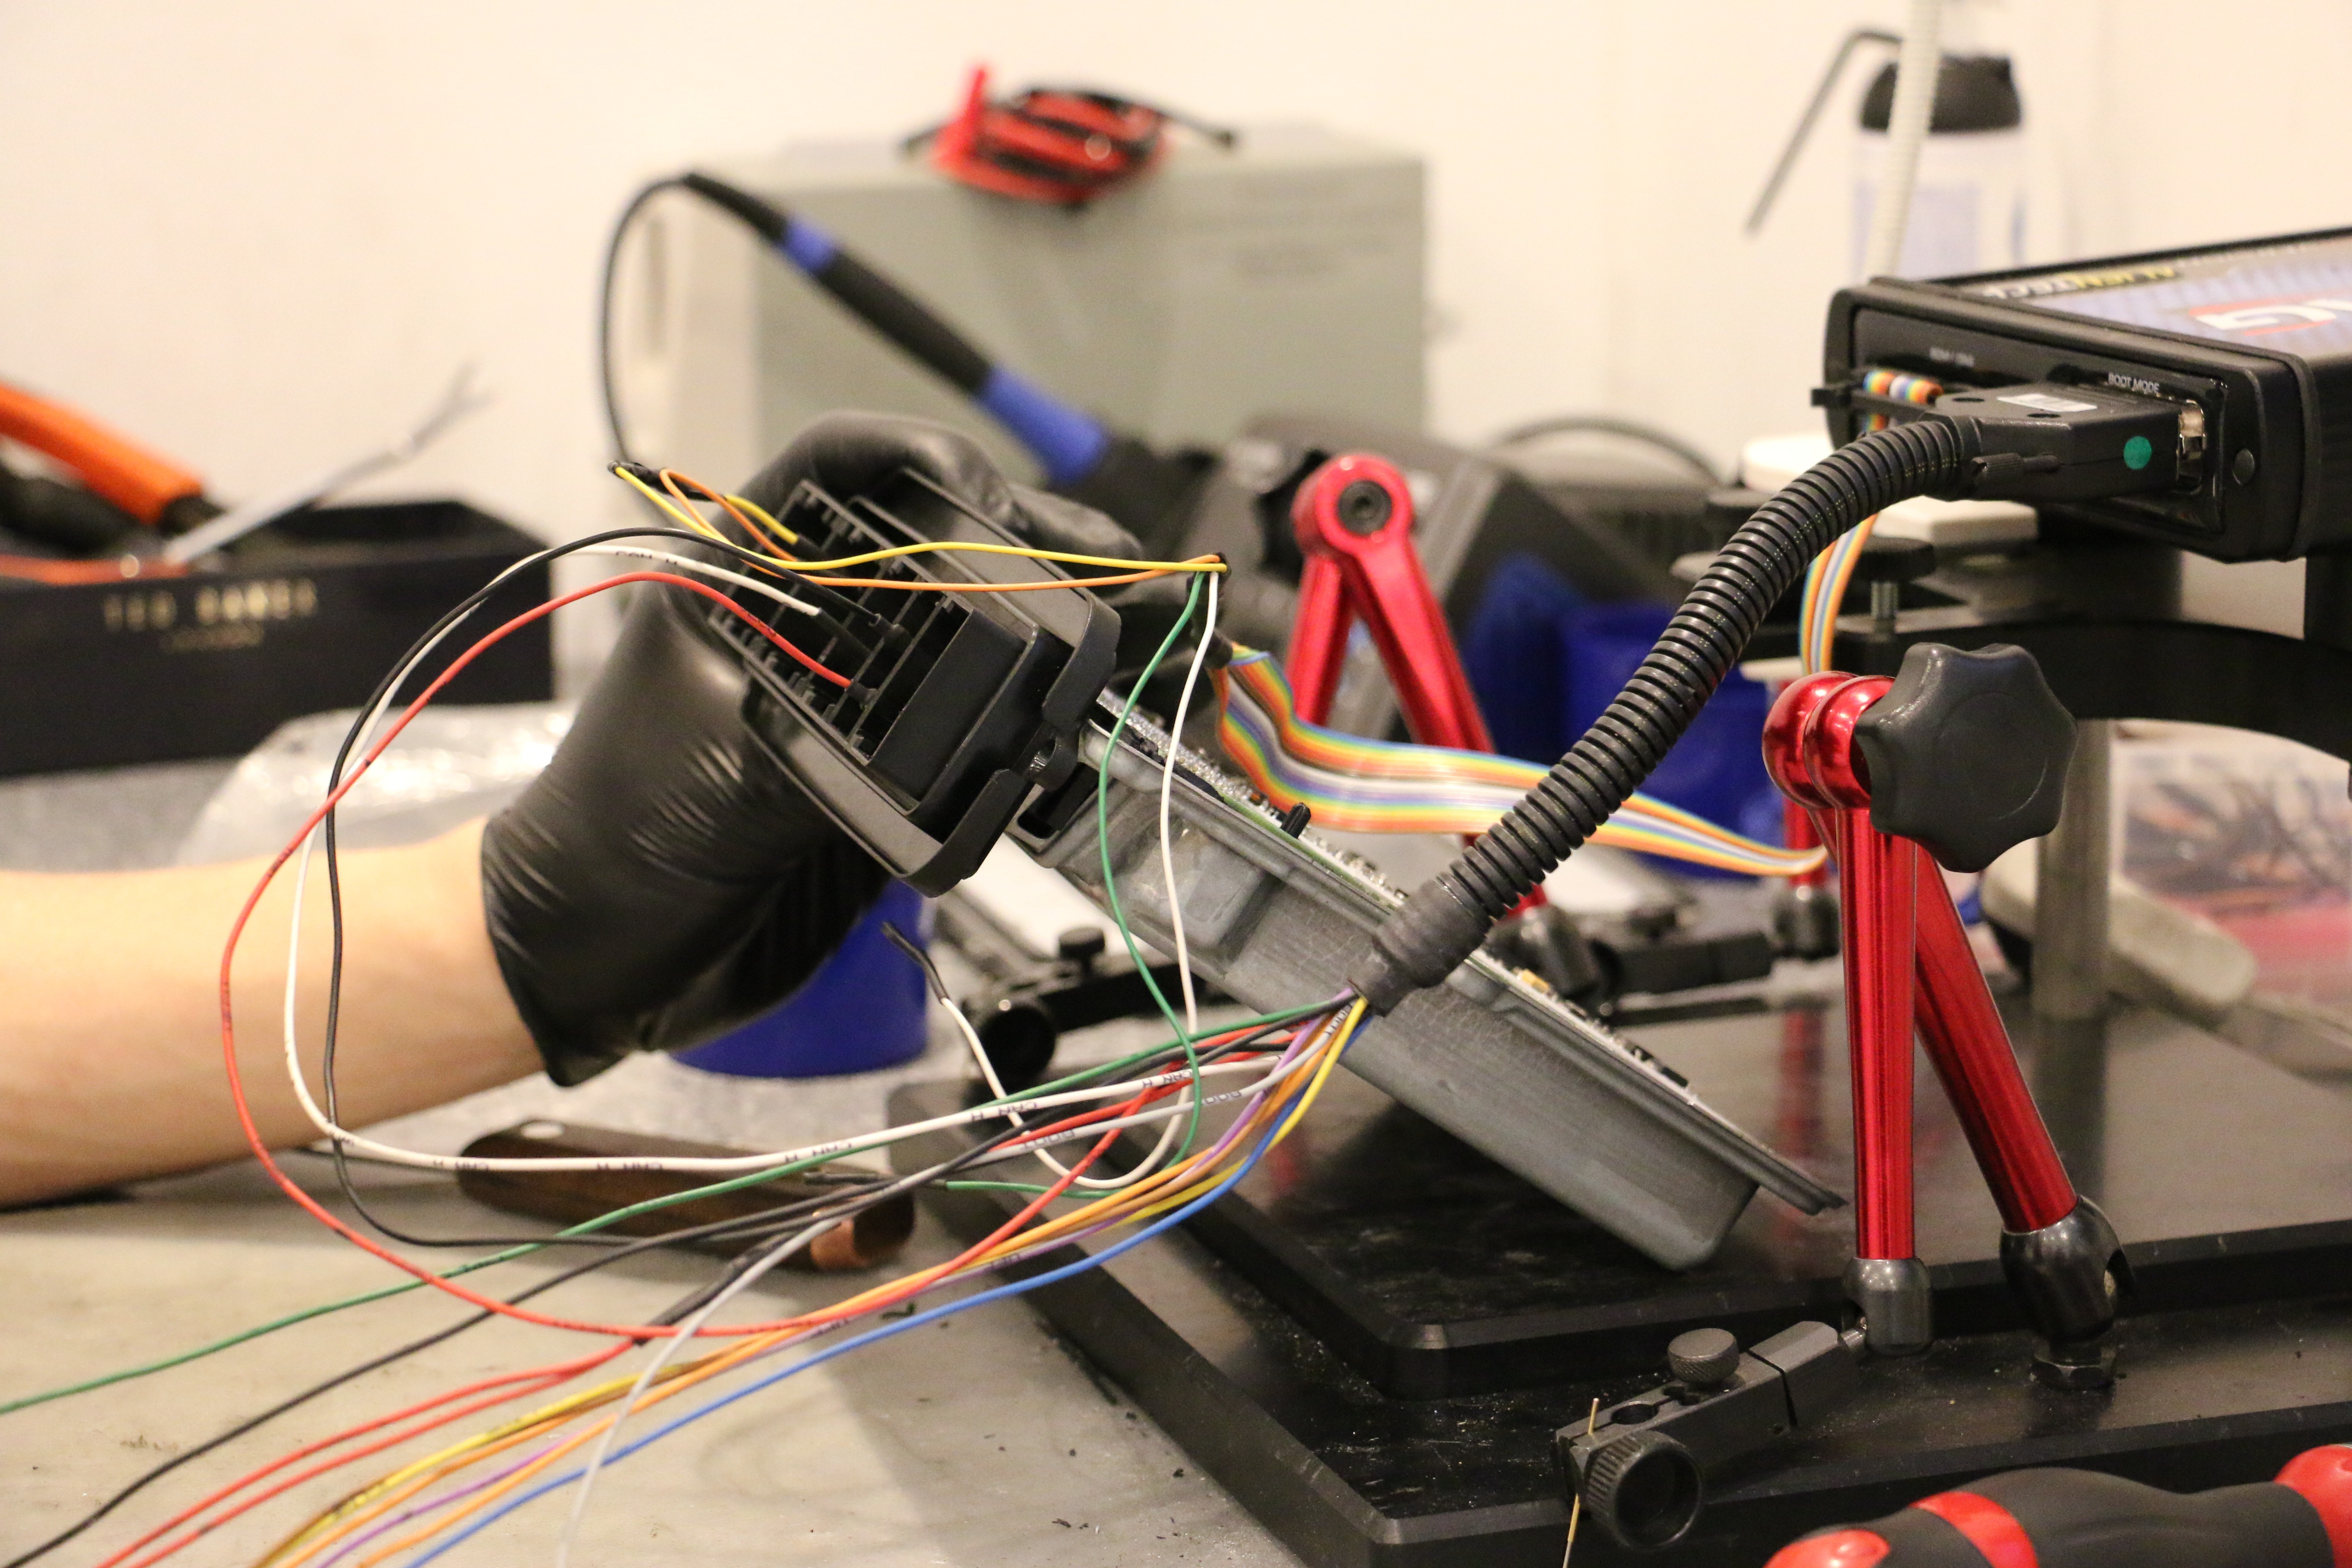
This leaves the board exposed. We now check through the database for the ECU connection diagram on Ksuite – this shows us where to connect to on the board, and on the plug on the back of the ECU. We usually have to connect up a few lives and earths to power the ECU up, and two can bus connections for programming.
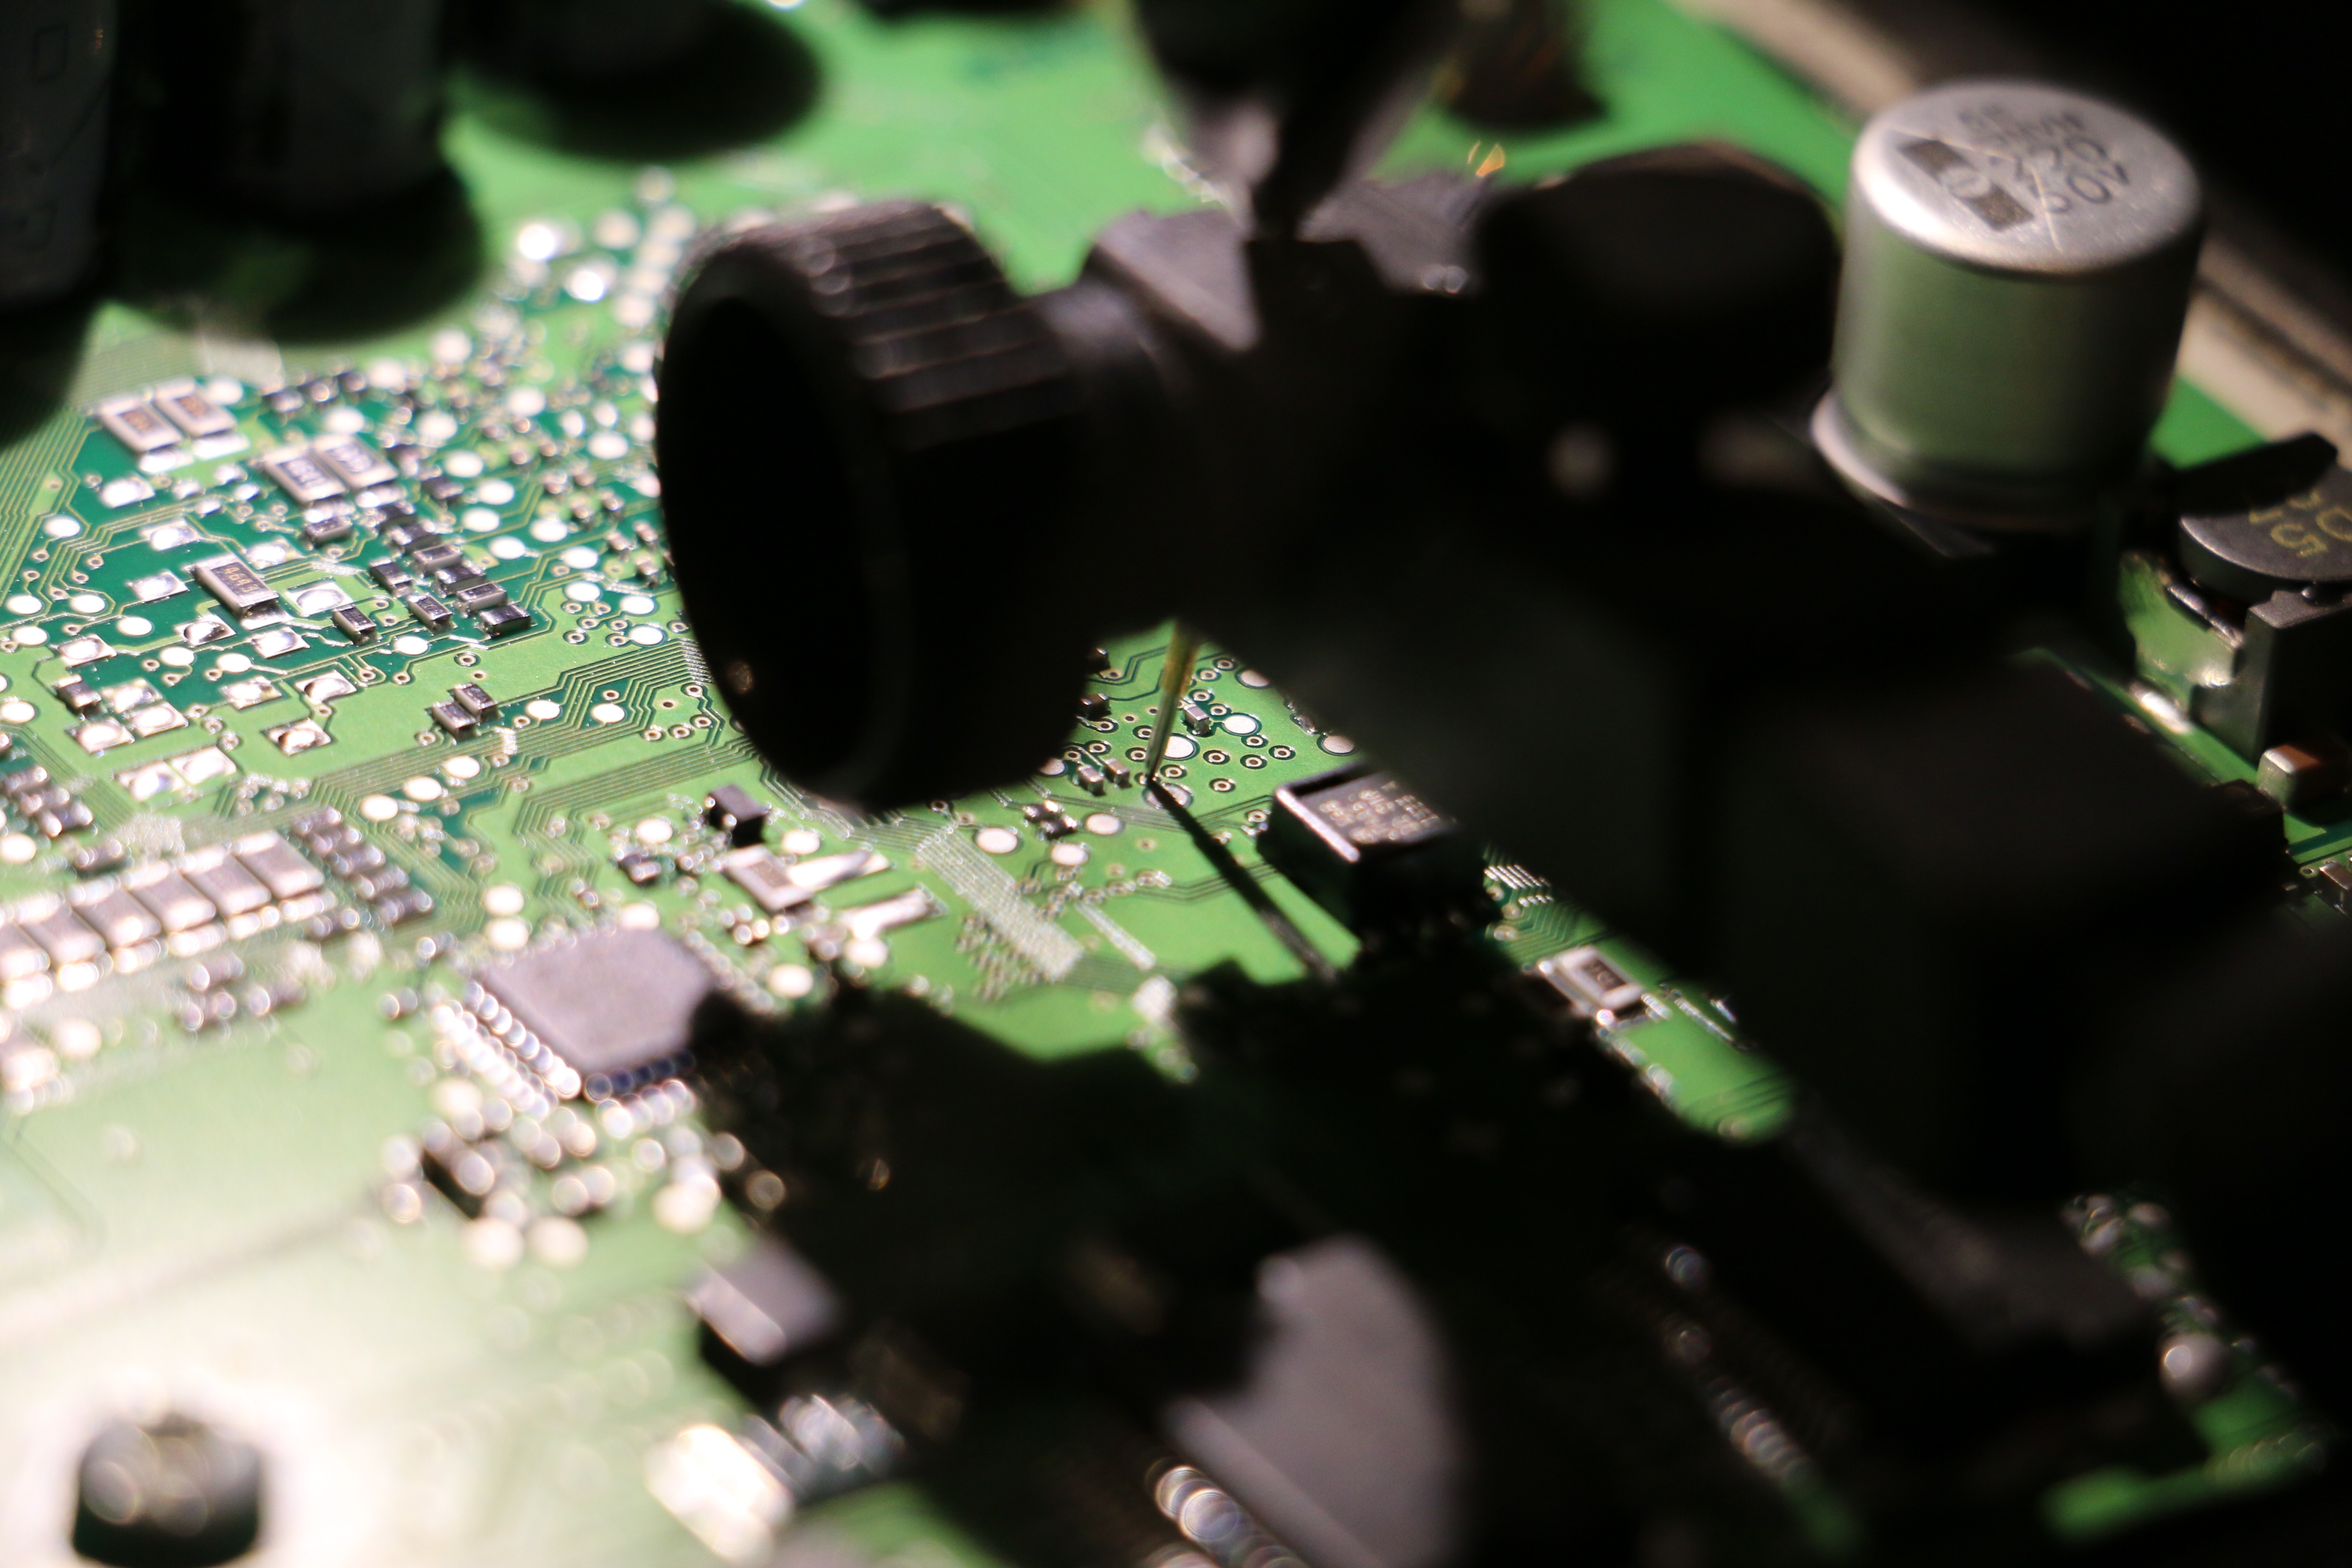
We then have to locate the boot pin on the board, this connection allows us to start the ECU up on the bench in programming mode with KTAG – we use our specialist tool to press a pin directly to the board rather than risking unnecessary soldering.
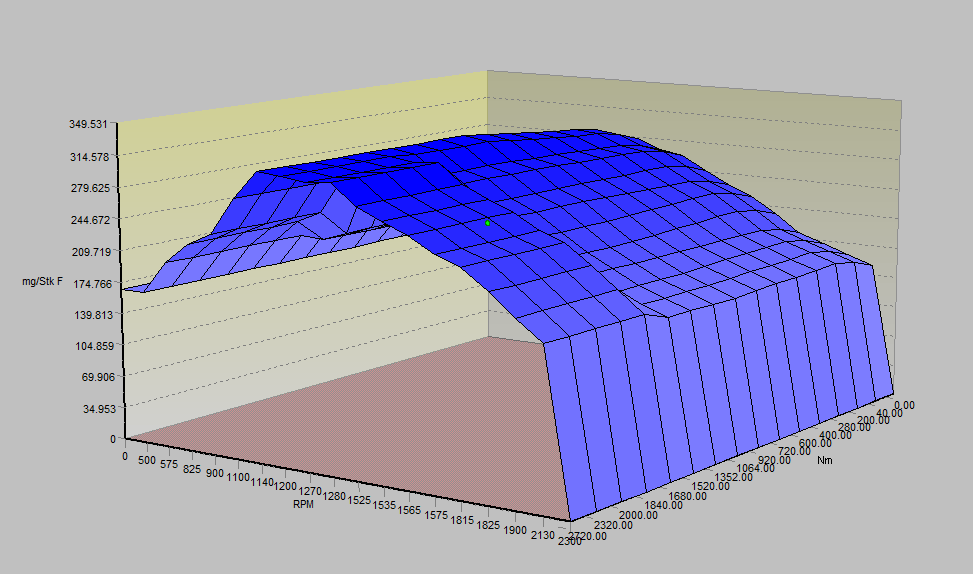
With KTAG connected up to the ECU, we can then read the original file off the car using KTAG and gain access to the maps inside it for fuelling, boost, timing and many other parameters. We modify the original file downloaded from the car, then upload this modified file back to the ECU.
With the modified file installed, we bolt the case back together and re-fit to the car. We then dyno test to check the car is performing as expected, and if required repeat the process again and again until the car is tuned.
With the tune confirmed as good, we then remove the ECU again and re-seal the unit to prevent any water damage. We then re-fit to the car, and fully re-assemble the car – you’ve usually got to remove a few pieces of trim to get at the ECU in a modern vehicle, and we wouldn’t need to re-fit these to run the car on the dyno (for example, windscreen wipers!)
We mentioned earlier about another way of doing certain ECU’s. The safest way to do these is to drill a hole in the casing to access the boot pin, as they’re tricky to get apart. On one specific ECU as an anti-tamper measure, they glue a row of capacitors to the top of the casing so that removing the cover leaves you with around a 40% chance of destroying the capacitors & thus the ECU. On these units we use a precision drilling rig to punch a hole in just the right place, video below;
As you can see, at JF Automotive we invest very heavily in all the specialist tools required to be able to tune any ECU we start working on, and the staff training to do the work safely – it simply isn’t worth risking someones car for the sake of not having the correct equipment. Around 1/3rd of all tuning jobs we do are ECU out bench tunes, so staff are very experienced with the process.
If you’ve got any further questions about bench tuning, get in touch with us and we’ll be more than happy to go through the exact process on your car in detail!
Get My Price
Meet The Team


Search Tuning...
Search our ECU tuning options to increase the power and torque of your vehicle and our wide range of performance parts.